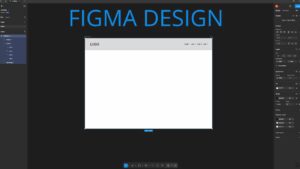
- Use the Rectangle Tool to create a background for the navigation menu.
- Use the Text Tool to create each menu item as a separate text element (e.g., Home, About, Contact).
- Select all the menu items, right-click, and choose Add Auto Layout.
- In the Auto Layout settings, set the direction to Horizontal.
- Adjust the Gap Between Items to 15.
- Select the entire group of menu items and position them in the center or wherever you think looks best.
- Use the Text Tool again to add a logo as text. Align it appropriately—typically centered or on the left side of the menu.
(Alternatively, you can insert an image logo if you prefer.)
How to Design a Simple Desktop Navigation Menu in Figma
Related Guides

